Adding and editing filters
You can add a filter on its own layer or attached to one layer, and change its settings in the Properties panel.
Filters panel
You can add a filter on its own layer by selecting it in the Filters panel.
Do one of the following:
- Choose Window > Filters.
- In Paint and Photo, select the Filters tab next to Properties in the right column.
- In Sketch, select Filters in the title bar.
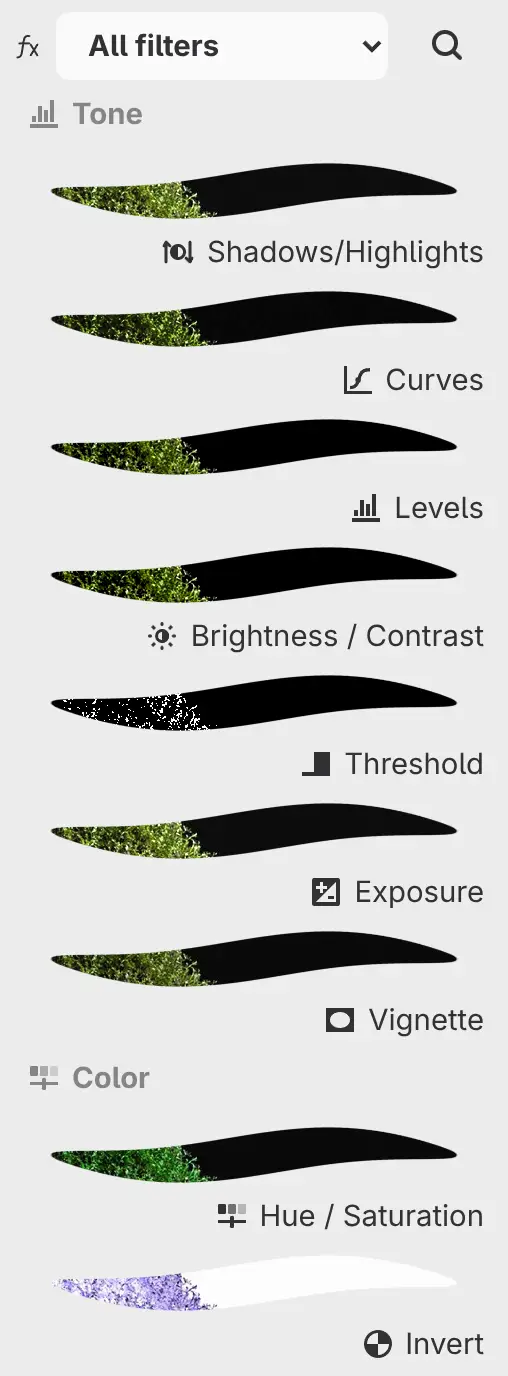
While a layer is selected, each row previews the filter on that layer and the layers below it. Animated filters have a mark before their icon.
The menu at the top shows one category or All filters. Search filters finds a filter by name within the chosen category.
After you add a filter, the Properties panel comes to the front, next to Filters.
Filter menu
You can add a filter on its own layer from the Filter menu.
Do one of the following:
- Choose a category and a filter from the Filter menu.
- In Sketch, choose Main Menu > Filter, then a category and a filter.
- Type the filter’s name in command search.
The menu also has Frequency Separation…, and its Fill submenu adds fill layers. Filters can’t be added in Quick Mask or while you edit a selection layer.
Adjust
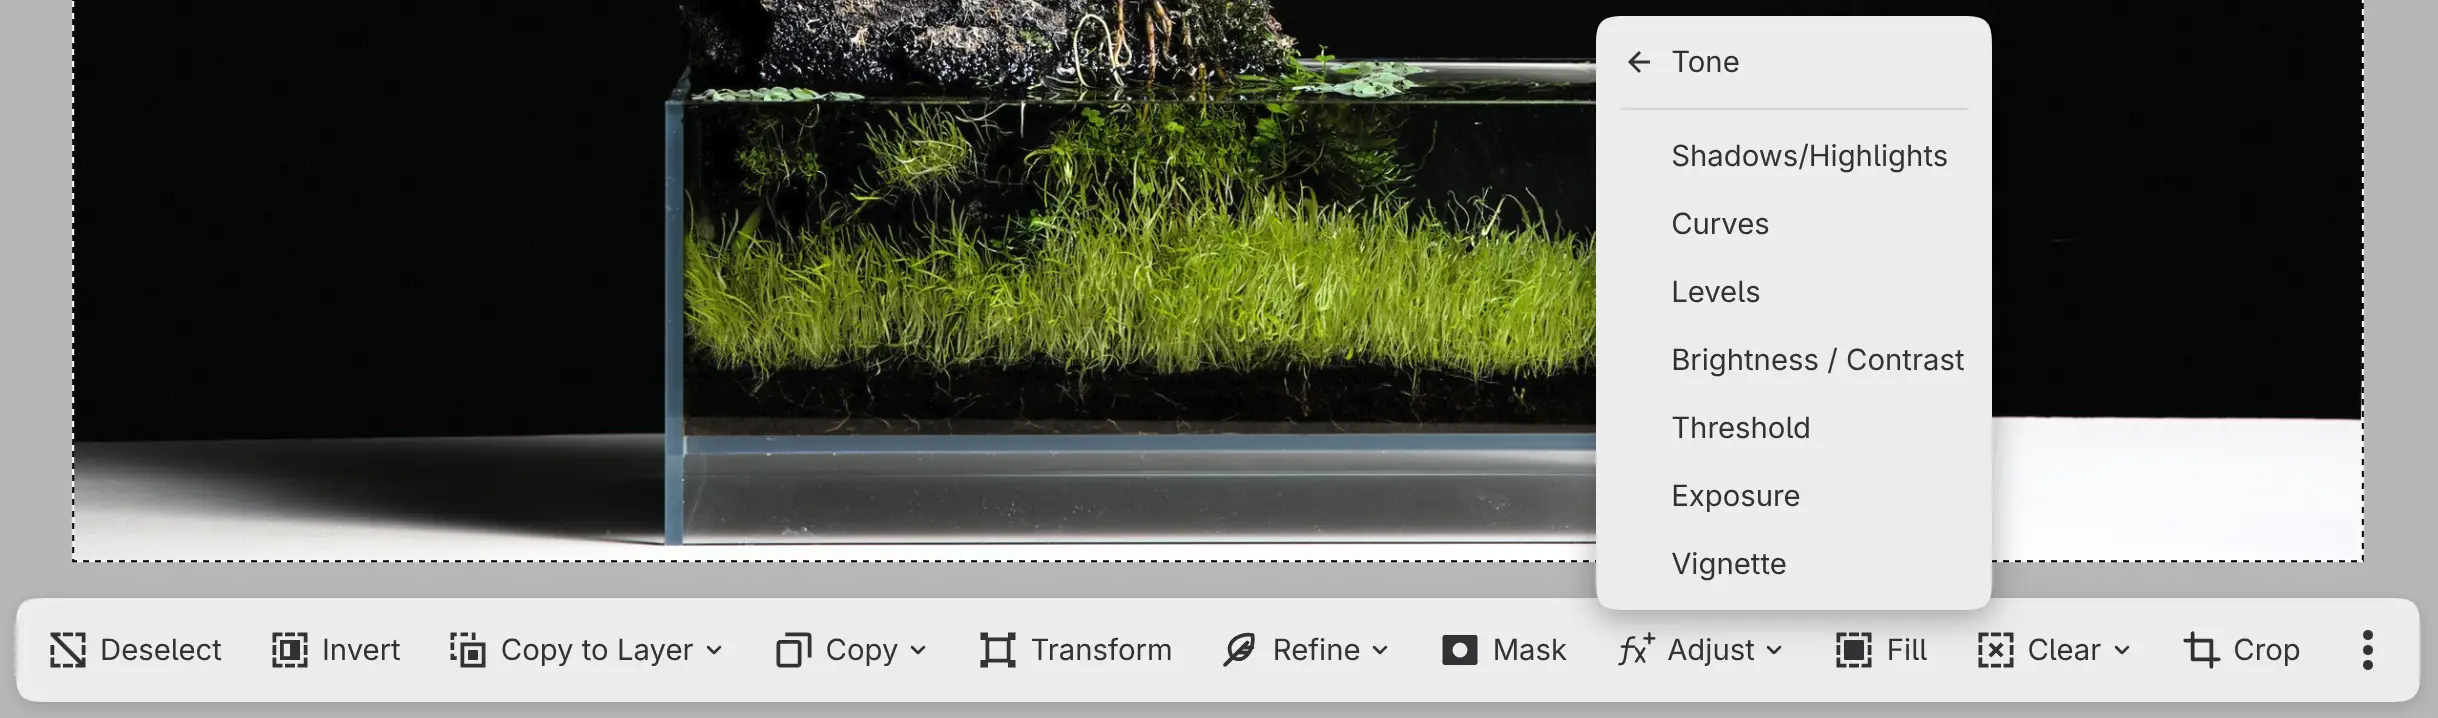
You can add a filter masked to the current selection. Select Adjust in the selection bar on the canvas, then choose a category and a filter.
Add Filter
You can attach a filter to the selected layer.
Do one of the following:
- Select Add Filter at the bottom of the Layers panel or the Properties panel.
- Open the layer’s menu and choose Add Filter.
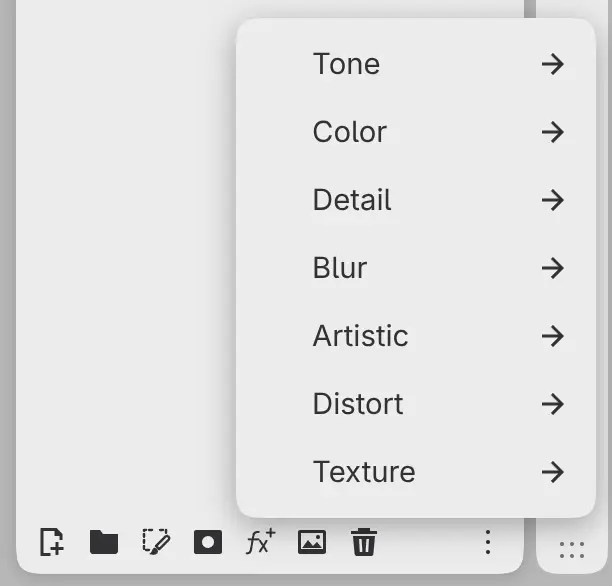
Add Filter works on unlocked paint layers, photo layers and groups that are not set to Pass Through. Its menu has every category except Fill.
Sketch Filters drawer
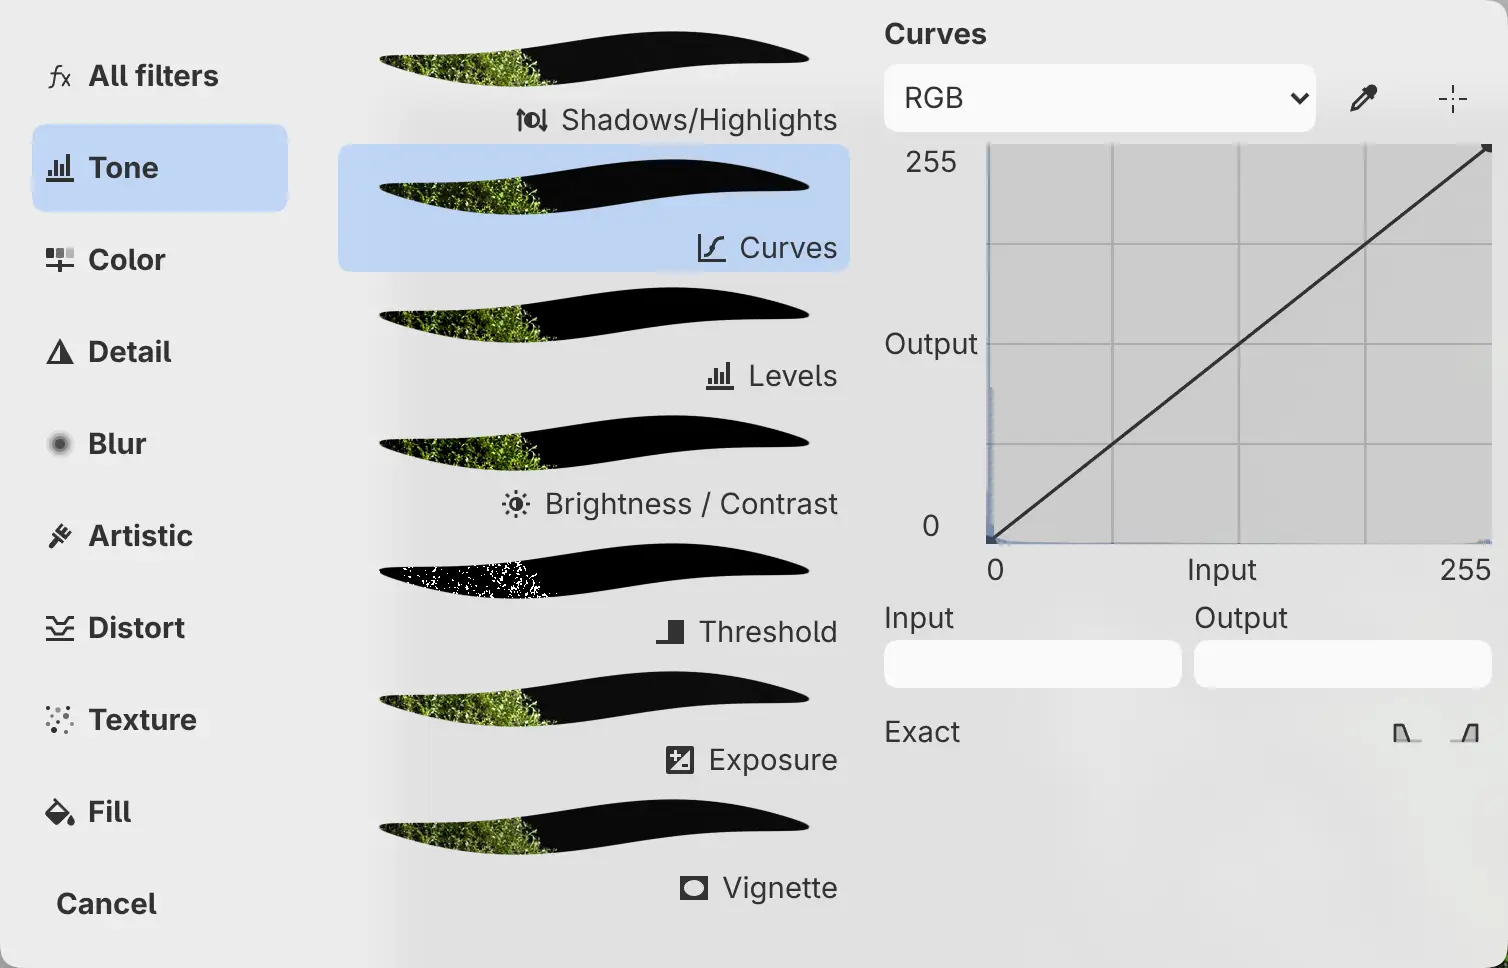
In Sketch, you can choose filters and change their settings in the Filters drawer. Select Filters in the title bar, then select a category in Filter Type and a filter in Filters.
| Selected layer | Selecting a filter in the drawer |
|---|---|
| A filter | Replaces it, keeping its name, mask, opacity, blend mode and place |
| A clipped layer | Attaches the filter to that layer |
| Any other layer | Adds the filter on its own layer above it |
Cancel at the bottom of Filter Type deletes the selected filter and closes the drawer. To keep the filter, select Filters in the title bar again.
Properties panel
You can change the selected filter’s settings in the Properties panel.
Do one of the following:
- Choose Window > Properties.
- In Paint and Photo, select the Properties tab in the right column.
- In Sketch, use the right column of the Filters drawer.
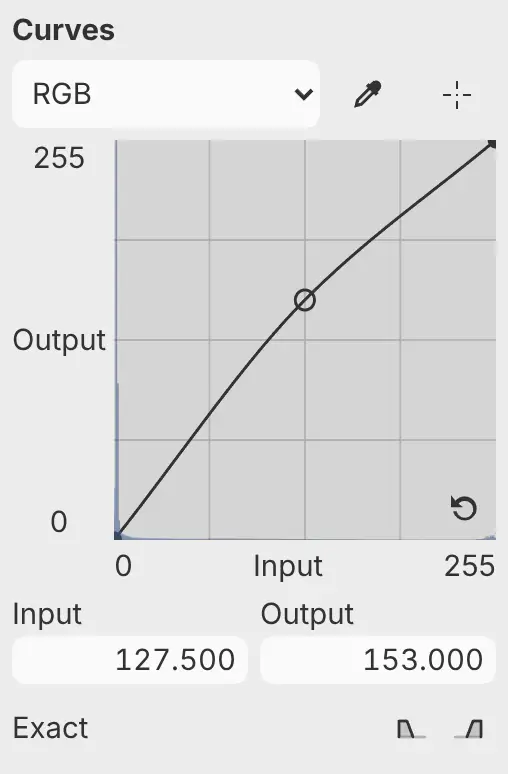
| Control | Use |
|---|---|
| Page menu | Shows one page of a filter’s settings, such as the Red curve of Curves. |
| Slider | Drag, or select − or +. Select the value to type a number, a unit or an expression such as 85/2. Clear the value to restore the default. |
| Color | Opens Edit Color. Use selected color sets it to the current color. |
| Gradient | Edits the stops as in the Gradient tool. |
Each drag is one undo step, and Escape during a drag restores the value. Some settings accept typed values past the ends of the slider.
Sizes in px are canvas pixels. After Image Size…, the effect scales with the image and the number stays the same.
While Shadows/Highlights, Clarity or Dehaze updates, the panel title ends in “Updating…”. A locked filter’s settings can’t be changed.
Setting tones from the image
Levels, Curves and White Balance have buttons at the top of the Properties panel that read the image as it reaches the filter.
| Button | Filter | What it does |
|---|---|---|
| Sample point > Pick black point, Pick neutral point or Pick white point | Levels, Curves | Click the canvas to set that point. |
| Pick neutral point | White Balance | Click the canvas to set Temperature and Tint so the point turns neutral. |
| Auto | Levels | Sets the input Black, White and Midtones of the current page from the image. Reads Cancel while it runs. |
| Target adjustment | Curves | Drag up or down on the canvas to raise or lower the curve at the tone under the pointer. |
On the RGB page the buttons change all channels, and on a channel page only that channel.
While a picker or Target adjustment is on, a bar at the bottom of the canvas shows a prompt and Cancel or Done. If a point can’t be used, a message appears and the picker stays on.
Histogram panel
You can check the tones of the image in the Histogram panel.
Do one of the following:
- Choose Window > Histogram.
- In Photo, select the Histogram tab at the top of the right column.
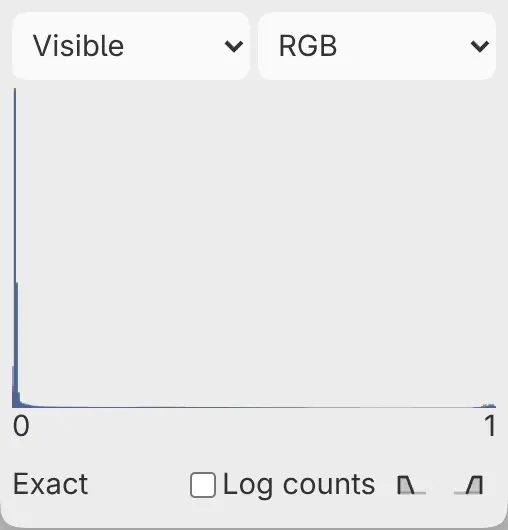
| Control | Choices |
|---|---|
| Source menu (Visible at first) | Visible, Selected layer, Reference (the layers set to Use as reference), Selection (the visible image inside the selection) |
| Channel menu (RGB at first) | RGB, Red, Green, Blue, Luminance |
| Log counts | Shows pixel counts on a logarithmic scale. |
| Shadows, Highlights | Mark clipped areas on the canvas. In an HDR drawing they read Shadows (SDR) and Highlights (SDR). |
The status below the graph reads “Exact” once the count is complete.
Waveform panel
You can see brightness and color from left to right across the image in the Waveform panel.
Do one of the following:
- Choose Window > Waveform.
- In Photo, select the Waveform tab next to Histogram.
The panel has its own channel menu and Log counts. The source menu and the clipping buttons are shared with the Histogram panel.