Editing paths
You can edit the paths of a vector layer after you draw them.
Selecting and moving paths
Select a path with the Operation tool (Move and Transform). Hold Shift to add or remove paths. Drag across empty canvas to select the paths the marquee fully encloses, or press Ctrl+A to select every path.
A dashed frame with handles surrounds the selection.
- Drag a selected path to move it. Hold Alt to move a copy.
- Drag a handle to scale, or the handle above the frame to rotate. Shift keeps proportions or turns in 15° steps.
- Arrow keys nudge by 1 px, and by 10 px with Shift.
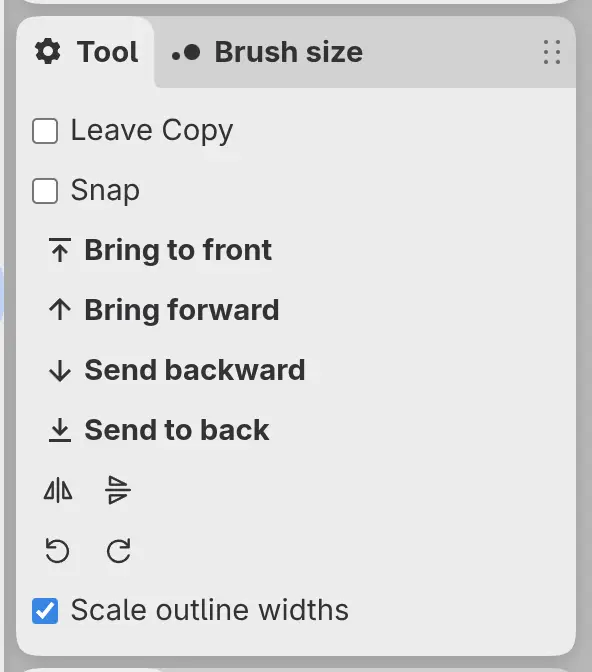
- The flip and rotate buttons in the Tool panel turn the selection about its center.
- Delete removes the selected paths.
Scale outline widths in the Tool panel is on by default. Turn it off to scale paths and keep their outline widths.
Edit points
You can move, add and delete the anchors of the selected paths.
Do one of the following:
- Press A.
- With Operation, press Enter or double-click a path.
- In Paint and Photo, right-click or hold Operation / Transform / Edit points in the Tools toolbar and choose Edit points.
Squares mark the anchors, and selected anchors show their handles. Press Escape to return to Operation.
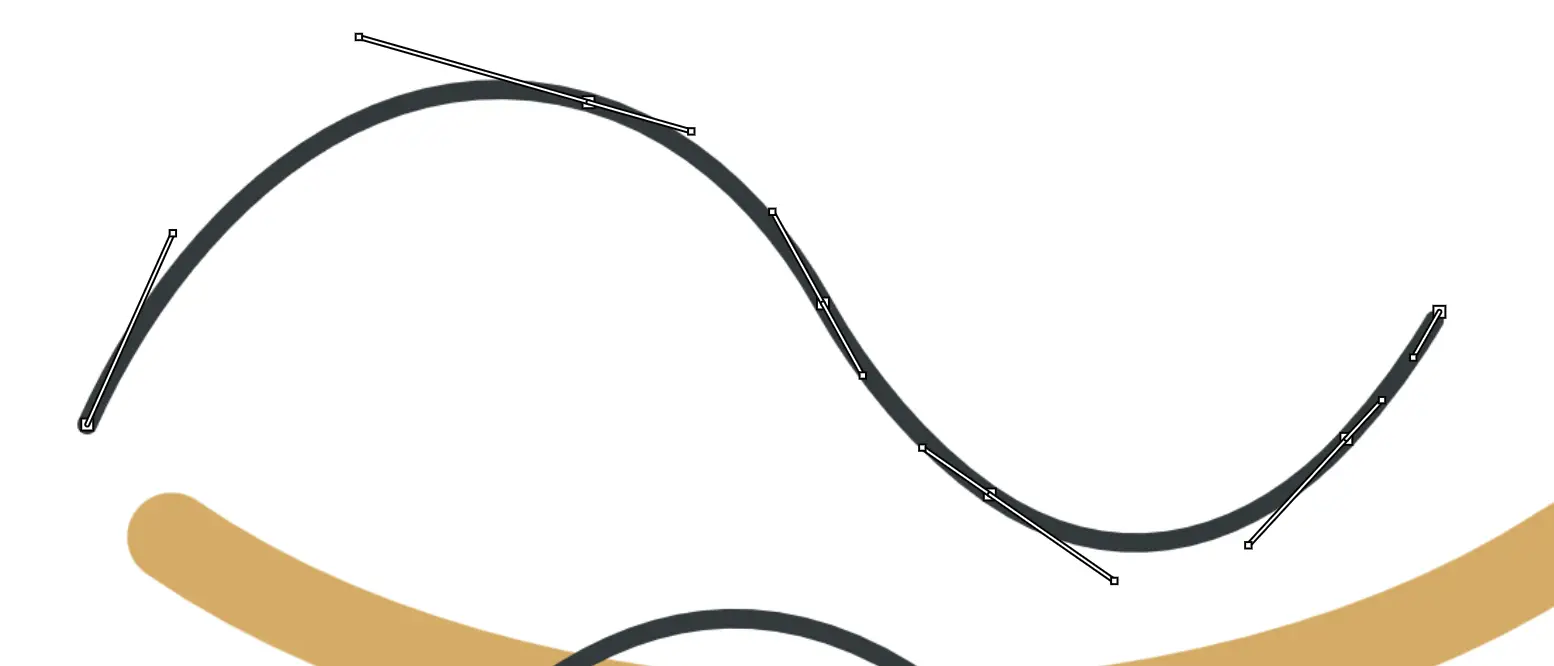
- Click an anchor to select it, Shift-click to add or remove one, or drag across empty canvas to select the anchors inside.
- Drag anchors to move them. Drag a handle to turn the curve, or hold Alt to move it apart from its partner.
- Drag a segment to bend it. Click a segment to add an anchor.
- Double-click an anchor to switch it between corner and smooth.
- Delete removes the selected anchors.
Editing an anchor turns a rectangle or ellipse into a plain path.
Path commands
You can join, close, split, reverse and combine the selected paths with Edit > Path. The Tool panel for Edit points lists the first four.
- Join paths connects the nearest ends of two open paths, or closes one open path.
- Close path connects the ends of each selected open path.
- Split at point cuts the selected paths at the selected anchors.
- Reverse direction runs each path the other way.
- Make compound path combines the selected paths into one with holes where they overlap. Release compound path separates them again.
A command that can’t act says what to select, such as “Select one or two open paths to join”.
Arrange
You can change the stacking order of the selected paths within their layer with Edit > Arrange: Bring to front, Bring forward, Send backward and Send to back. The Tool panel for Operation has the same buttons.
Path settings
With paths selected, Properties shows the front-most selected path. A label ends in “(mixed)” when the selected paths differ, and a change applies to every selected path.
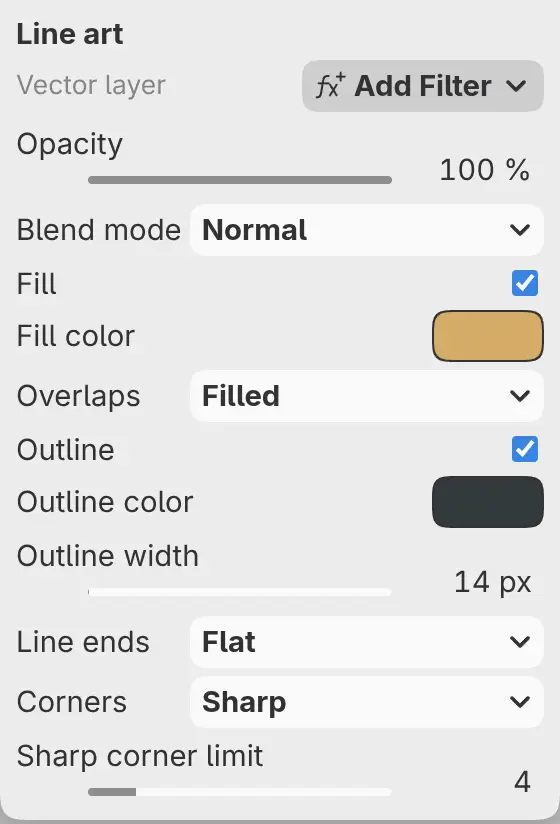
Fill
Turns the fill on or off. A new fill uses the background color.
Fill color
Sets the color of the fill.
Overlaps
Sets how overlapping parts fill. Filled fills them, and Holes leaves them empty. Shown when Fill is on.
Outline
Turns the outline on or off. A new outline uses the foreground color.
Outline color
Sets the color of the outline.
Outline width
Sets the width of the outline, from 0.1 to 4096 px.
Line ends
Sets the shape of open ends: Flat, Round or Square.
Corners
Sets the shape of the outline at corners: Sharp, Round or Beveled.
Sharp corner limit
Sets how long a sharp corner can grow, from 1 to 20. Past the limit, the corner is beveled. Shown when Corners is Sharp.