Retouching
This stage produces a Retouch layer that covers dust and a smudge in the photo. The photo layer doesn’t change.
1. Add a retouch layer
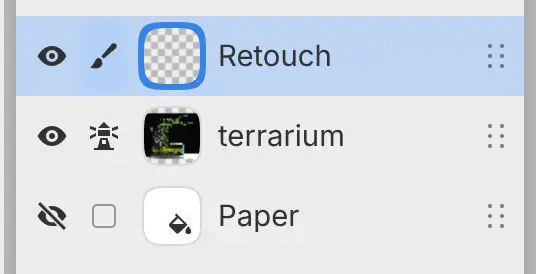
- Select New layer at the bottom of the Layers panel, and rename the new layer Retouch.
- Choose Layer > Layer Settings > Use layer below as reference (Layer settings).
The photo layer becomes a reference layer, and a lighthouse icon appears next to the eye on its row. The healing tools copy from the reference layers by default and paint on Retouch.
2. Remove dust
The Spot Healing Brush replaces what you paint over with texture from the most similar nearby area when you lift the pen (Clone and heal). The example removes dust from the glass at the base of the terrarium.
- Choose View > Actual Pixels, or press Ctrl+1, to see the photo at 100%.
- Select Spot Healing Brush in the Tools toolbar, or press S until it is selected.
- Press ] until the brush is larger than the specks.
- Paint over each speck.
3. Remove the smudge
The Healing Brush paints with pixels copied from a source, then matches them to the color and brightness around the stroke.
- Right-click Spot Healing Brush in the Tools toolbar, or hold it, and choose Healing Brush.
- Hold Alt and click a clean area next to the smudge, or select Set Source in Tool Options and click the clean area.
- Paint over the smudge.
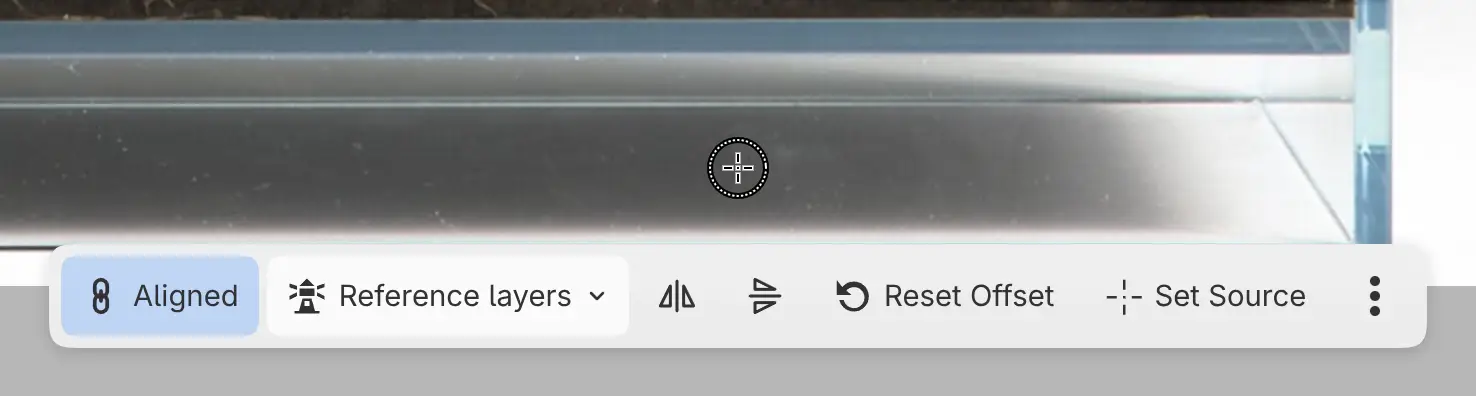
A disc on the canvas marks the source. Drag the disc to move the source, or select the disc to show its bar.
To compare with the original photo, hide Retouch.
Next stage: Adjusting and exporting.