Blend and Liquify
You can smear and mix the paint on a layer with Blend, and move its pixels with Liquify.
Blend
Do one of the following:
- Press J.
- In Paint, select Blend in the Tools toolbar. The same button holds Clone Stamp.
- In Photo, select Blend in the Tools toolbar.
- In Sketch, choose Blend in the Sculpt drawer.
- Search commands for Blend.
Blend has two presets, Natural Blender and Smudge. Both start with Paint load at 0% and carry no color of their own. Color pickup sets how far they drag color along the stroke (Mixing, bleed and bristles).
Liquify
Do one of the following:
- Press J while Blend is active.
- In Paint or Photo, select Liquify in the Tools toolbar. Right-click or hold the button to choose a mode.
- In Sketch, choose Liquify in the Sculpt drawer.
- Search commands for Liquify.
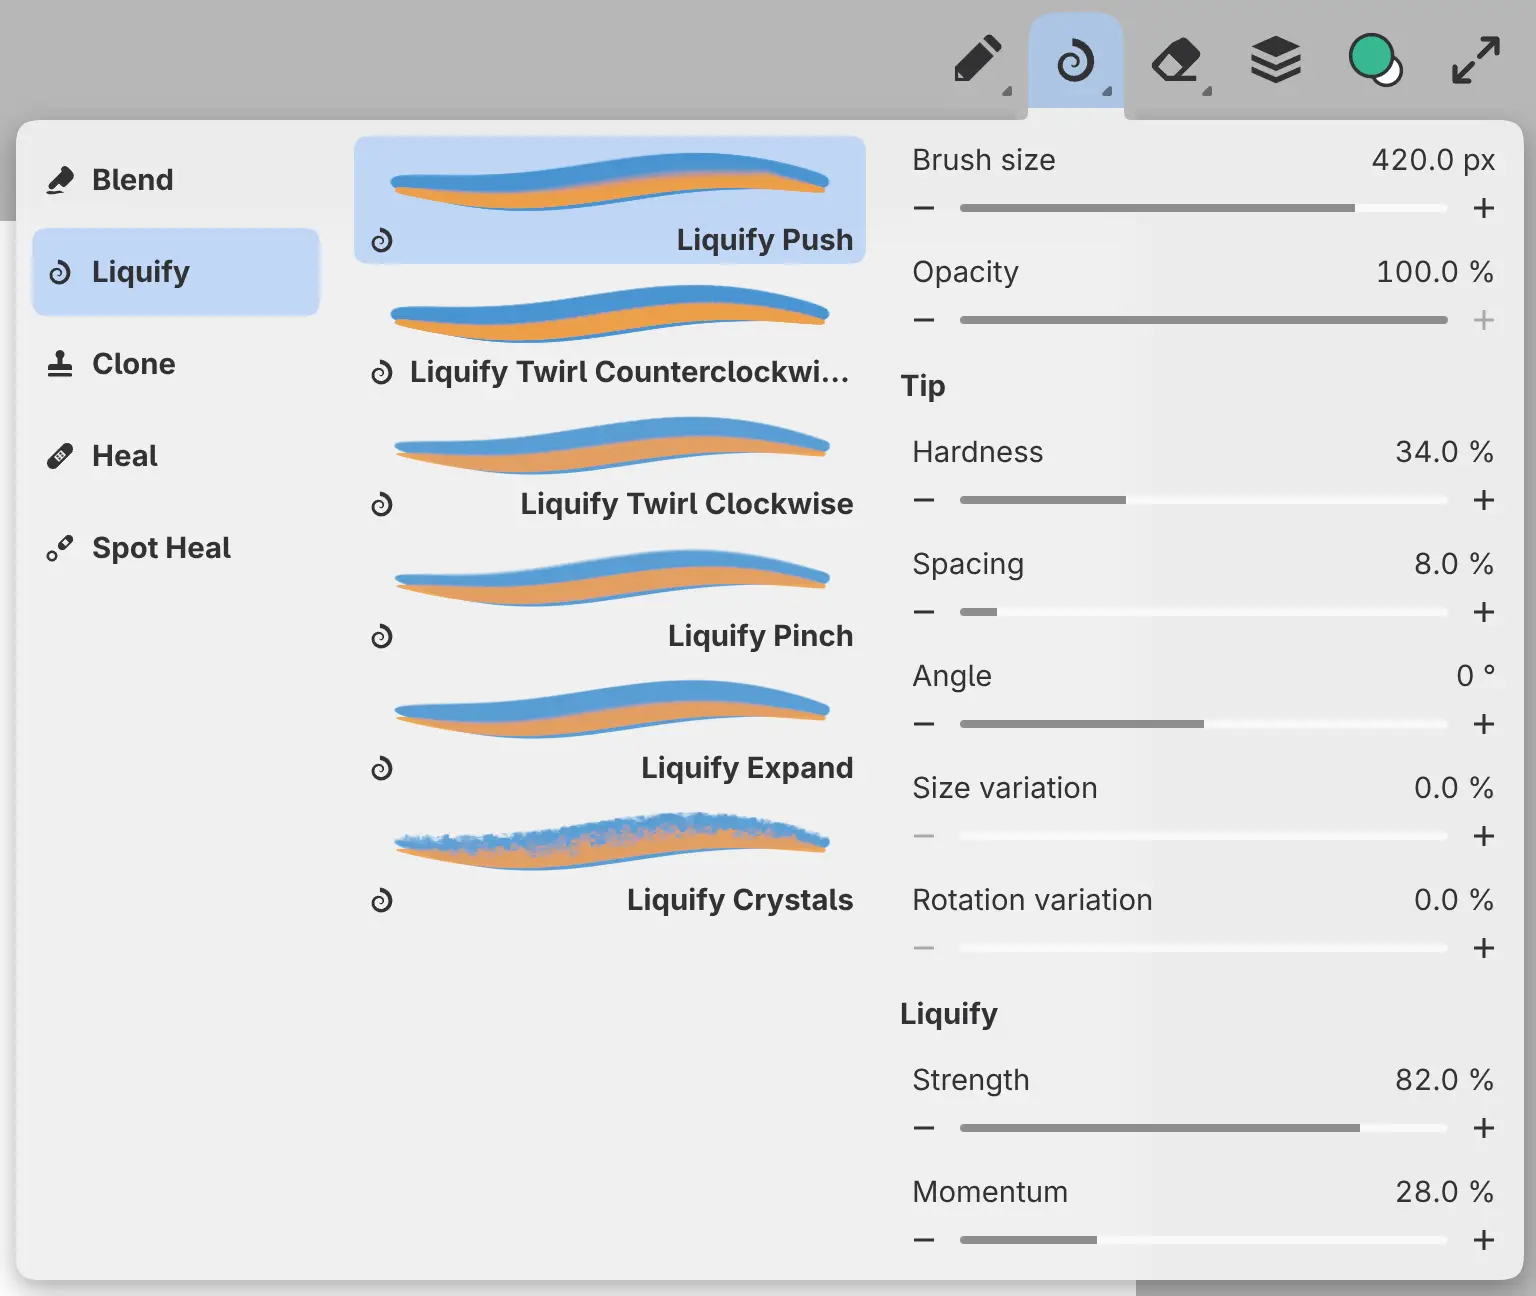
Each mode is a preset in Tool Set:
| Preset | Effect |
|---|---|
| Liquify Push | Drags pixels along the stroke. |
| Liquify Twirl Counterclockwise | Turns pixels counterclockwise around the center of the brush. |
| Liquify Twirl Clockwise | Turns pixels clockwise around the center of the brush. |
| Liquify Pinch | Pulls pixels in toward the center of the brush. |
| Liquify Expand | Pushes pixels out from the center of the brush. |
| Liquify Crystals | Breaks the image under the brush into small scattered cells. |
Liquify settings
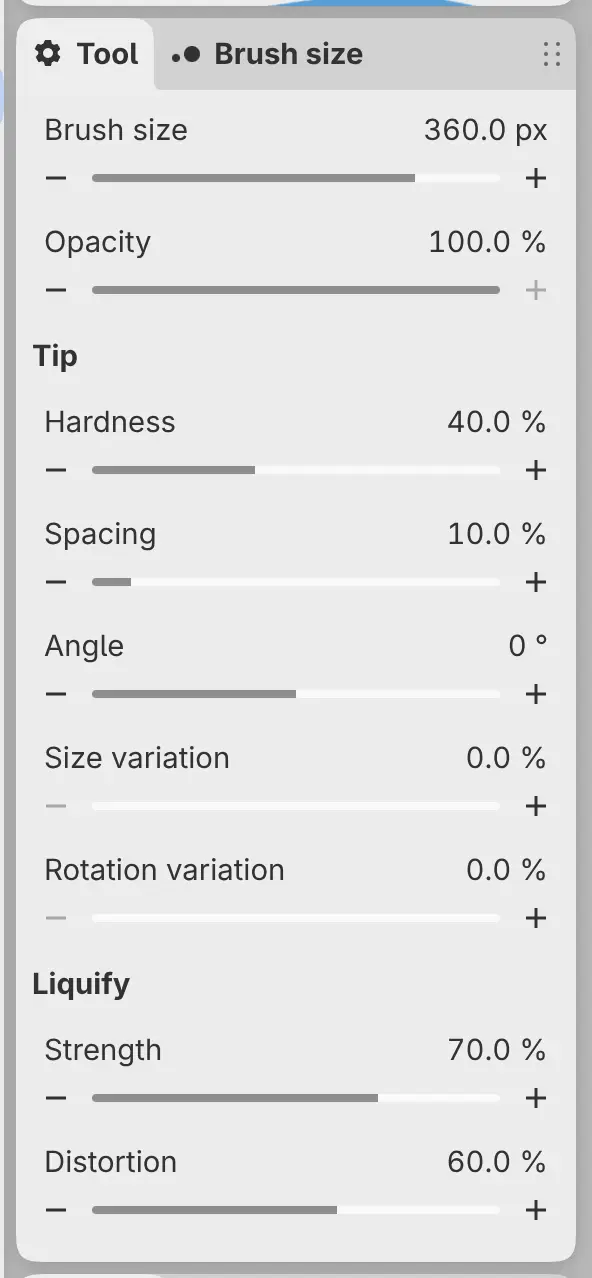
Strength, Distortion and Momentum are in the Liquify group of the Tool panel. Liquify has no Flow.
Strength
Sets how far each dab moves the pixels. The effect is weaker at light pen pressure and toward the edge of a soft tip.
Distortion
Sets how far Liquify Crystals scatters the pixels. No other mode has this setting.
Momentum
Makes Liquify Push carry pixels farther than the pen moves, and appears only on that mode.
Sculpt drawer in Sketch
In Sketch, Sculpt in the title bar holds Blend, Liquify and the retouching tools.
- Select Sculpt to use the last sculpting preset. The first time, this is Natural Blender.
- Select Sculpt again to open its drawer, and once more to close the drawer.
The drawer has three columns. Sculpting lists Blend, Liquify, Clone, Heal and Spot Heal. Tools lists the presets of the chosen group, and Tool holds their settings.
Sculpt and Brush each keep their own last preset and brush size.
Painting on a mask
On a mask, Blend and Liquify paint plain coverage without smearing or moving pixels. The first such stroke on each mask shows a notice.