Opening and cropping
This stage produces the opened photo, cropped to a 5:4 frame.
1. Open the photo
Choose File > Open…, or press Ctrl+O, and select the photo (Opening and saving). The photo opens in a drawing tab of its own.
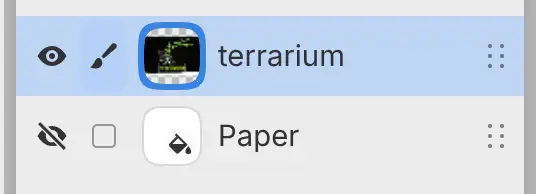
The drawing has one layer, named after the file, above a hidden Paper layer. In the example, the layer is named “terrarium”.
2. Choose a ratio
Choose Edit > Image > Crop, select Crop in the Tools toolbar, or press C (Crop). A frame with handles appears over the photo, with the crop bar along the bottom of the canvas.
Select Ratio in the crop bar and choose 4:5. The frame becomes the largest frame of that ratio, centered on the canvas. Its orientation follows the photo, so a landscape photo gets a 5:4 frame.
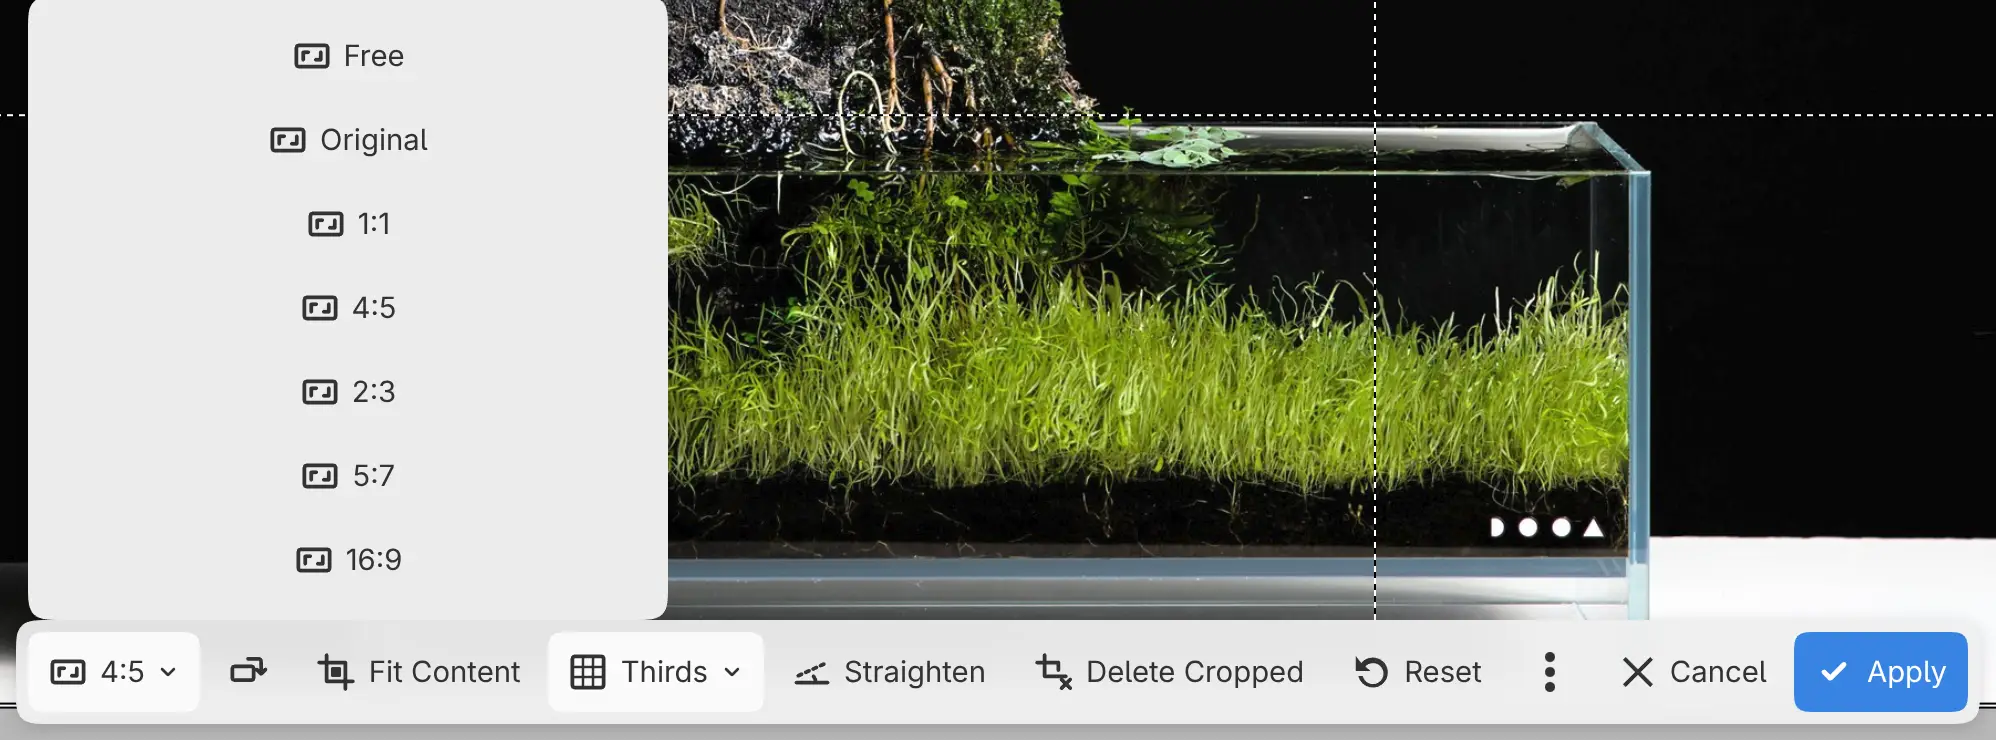
3. Position the frame
If a horizon or another level line in your photo is tilted, straighten the photo before you move the frame. Select Straighten in the crop bar and draw a line along the tilted line. The crop turns to match, and the frame returns to the center.
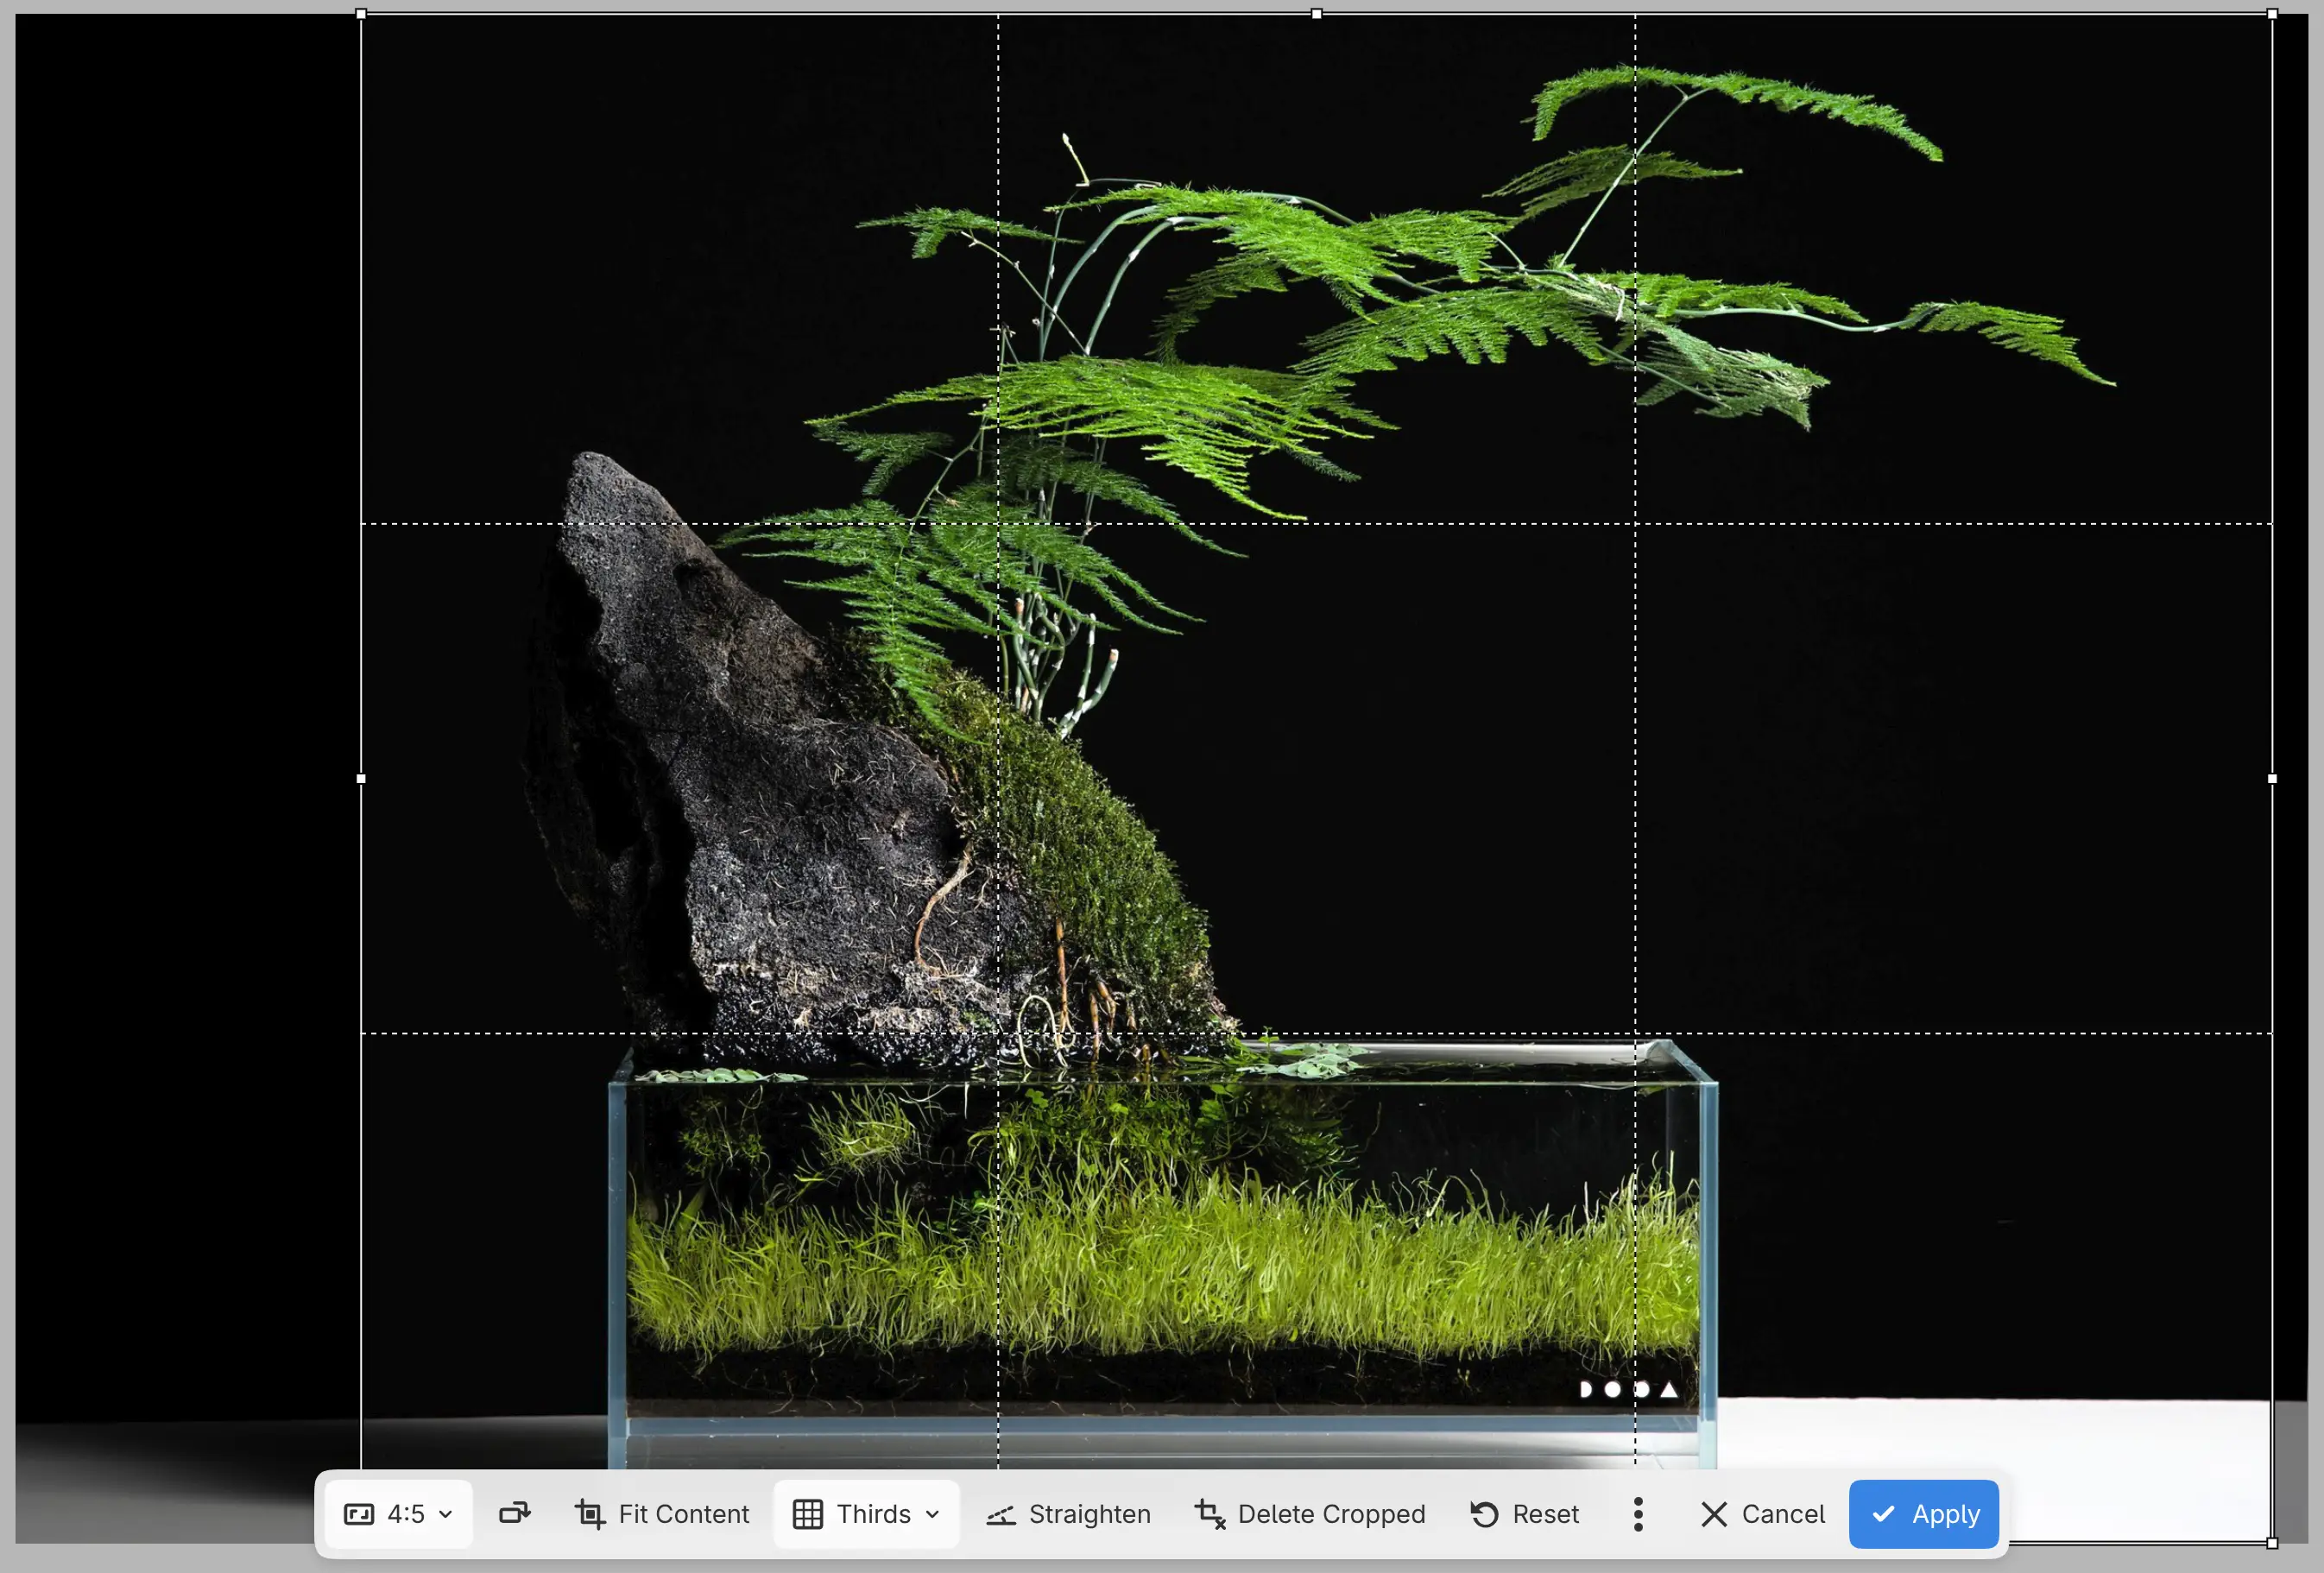
Drag inside the frame with a pen or a mouse to move it. The example moves the frame to the right, to give the rock and the tips of the fern even margins.
4. Apply the crop
Select Apply in the crop bar, or press Enter. The canvas takes the size of the frame: 2000 × 1600 pixels in the example. The cropped pixels stay on the layer, hidden, unless Delete Cropped is on in the crop bar.
Next stage: Retouching.