Sketching
This stage produces a color rough of the three shapes and a pencil sketch on a layer above it.
1. Create the drawing
- Select Paint in the workspace switcher in the title bar.
- Choose File > New…, or press Ctrl+N (New drawings).
- In the New drawing dialog, choose px in the unit menu, set W and H to 1200, and select Create.
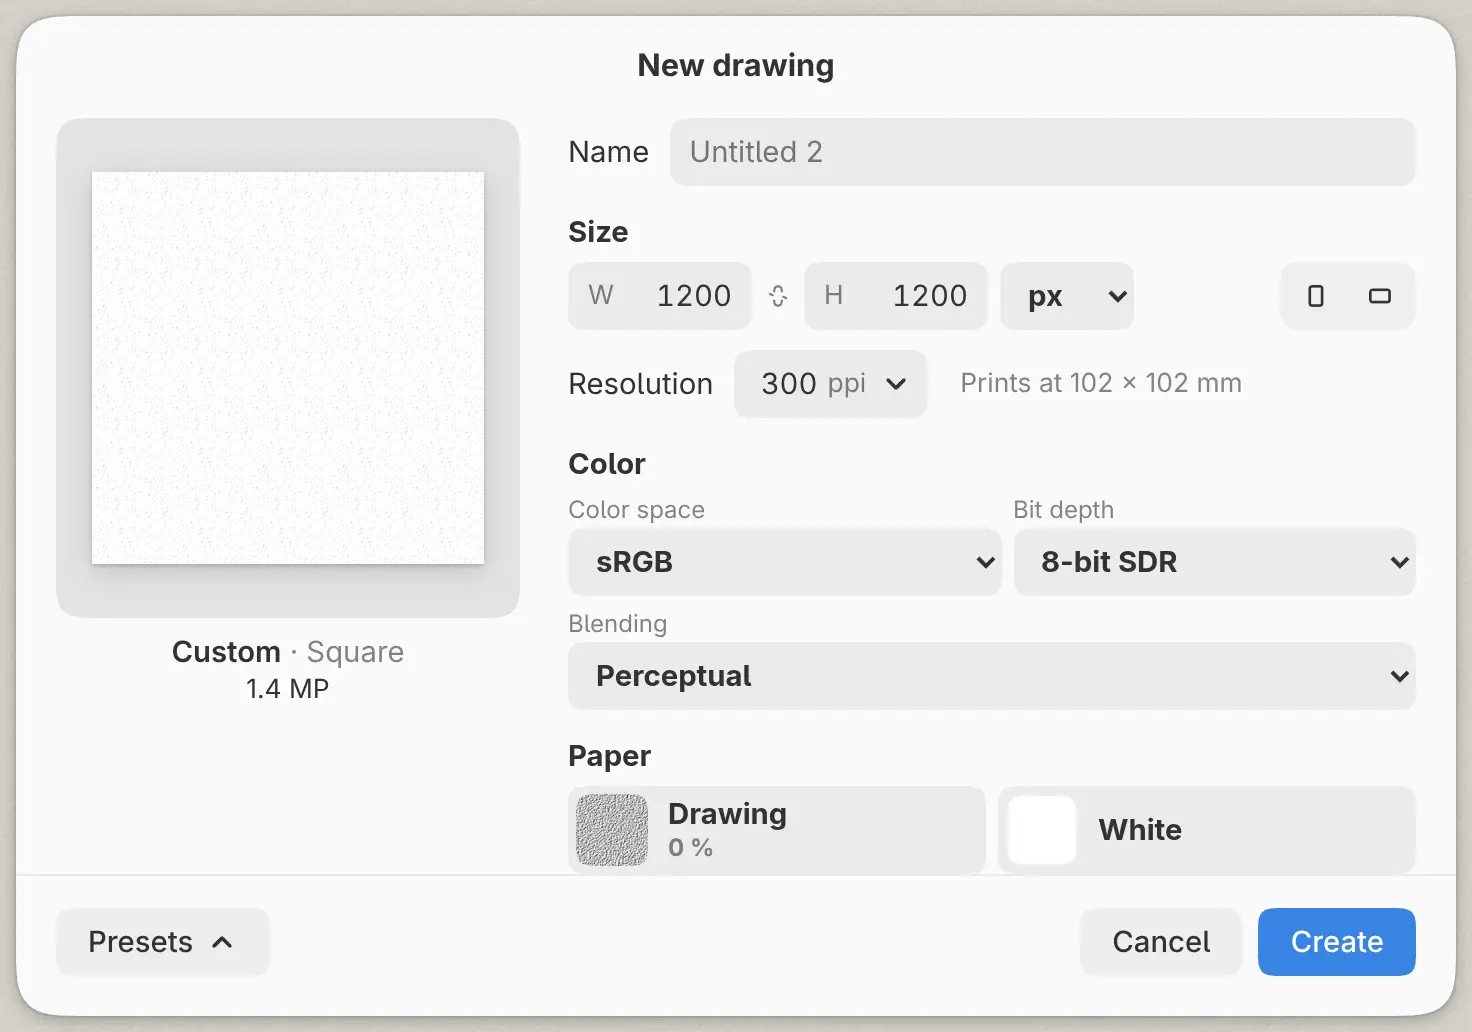
The drawing has two layers: Current ink above Paper. Double-click Current ink in the Layers panel and rename the layer Color rough.
2. Block in the colors
The Lasso fill tool fills a freehand shape with the current color in one stroke (Fill tools). Select Fill in the Tools toolbar, then select Lasso fill in the Tool Set panel.
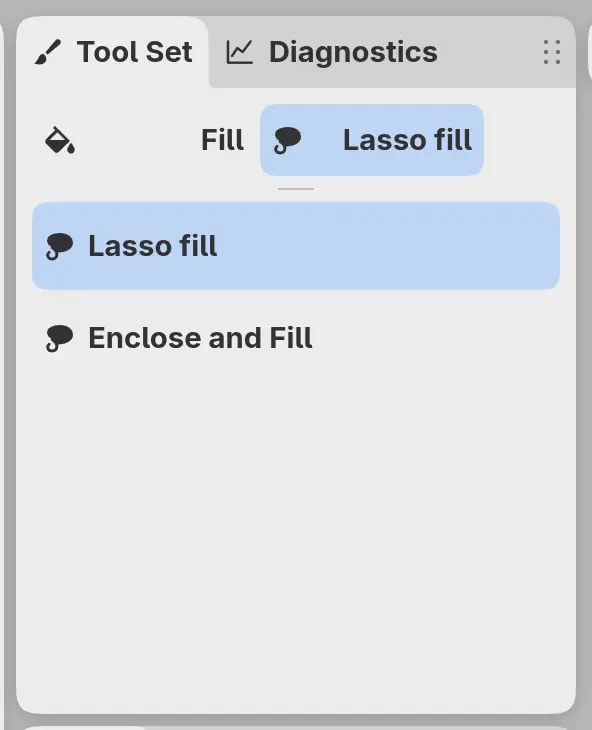
For each shape, choose its color in the Color panel and trace its outline in one stroke. Start with the block at the lower left in terracotta, then the disc above it in ochre, and last the ribbon on the right in teal. Each shape covers parts of the earlier shapes.
Set Layer opacity in the Layers panel header to 50 (Layers panel). The Color rough row shows “50%” under the layer name.
3. Draw the sketch
Select New layer at the bottom of the Layers panel, and rename the new layer Sketch. It appears directly above Color rough.
Select Pencil in the Tools toolbar and the Pencil brush in Tool Set (Brush tools). Set Brush size in the Tool panel to 8 px.
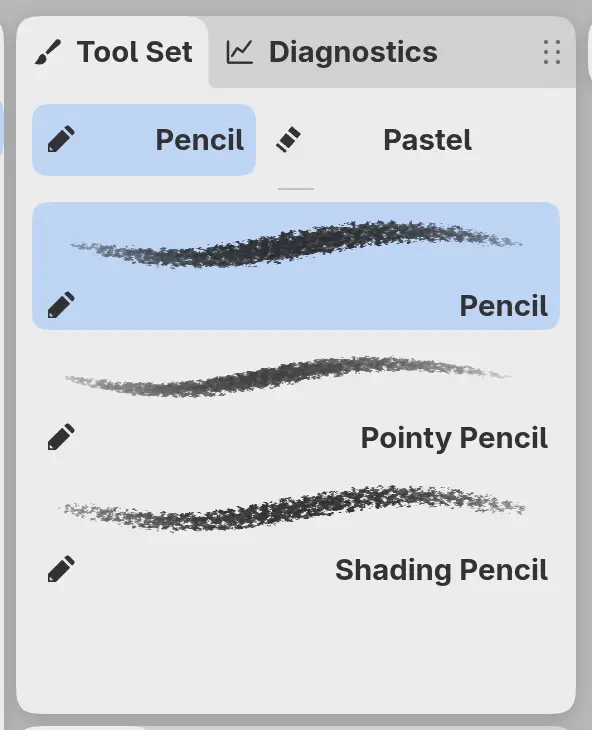
Draw the three outlines, then the scribbles and hatch marks. The example also has construction lines in sage, drawn at 5 px.
The layer list reads Sketch, Color rough, and Paper.
4. Transform part of the sketch
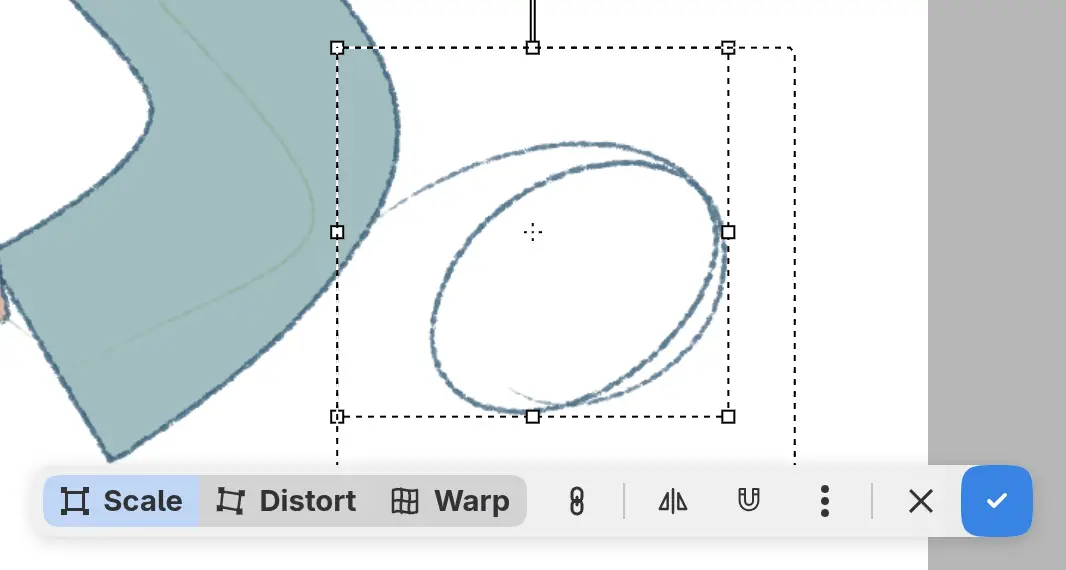
You can move, scale, or rotate a selected part of the sketch with Transform (Move and Transform). The example transforms the loop at the lower right.
- Press M, or select Lasso selection in the Select group of the Tools toolbar, and draw a loop around the part.
- Select Transform in the selection bar, or press Ctrl+T.
- Drag the handles.
- Select Apply in the bar, or press Enter.
- Choose Select > Deselect pixels, or press Ctrl+D.
Next stage: Line art.