Illustration tutorial
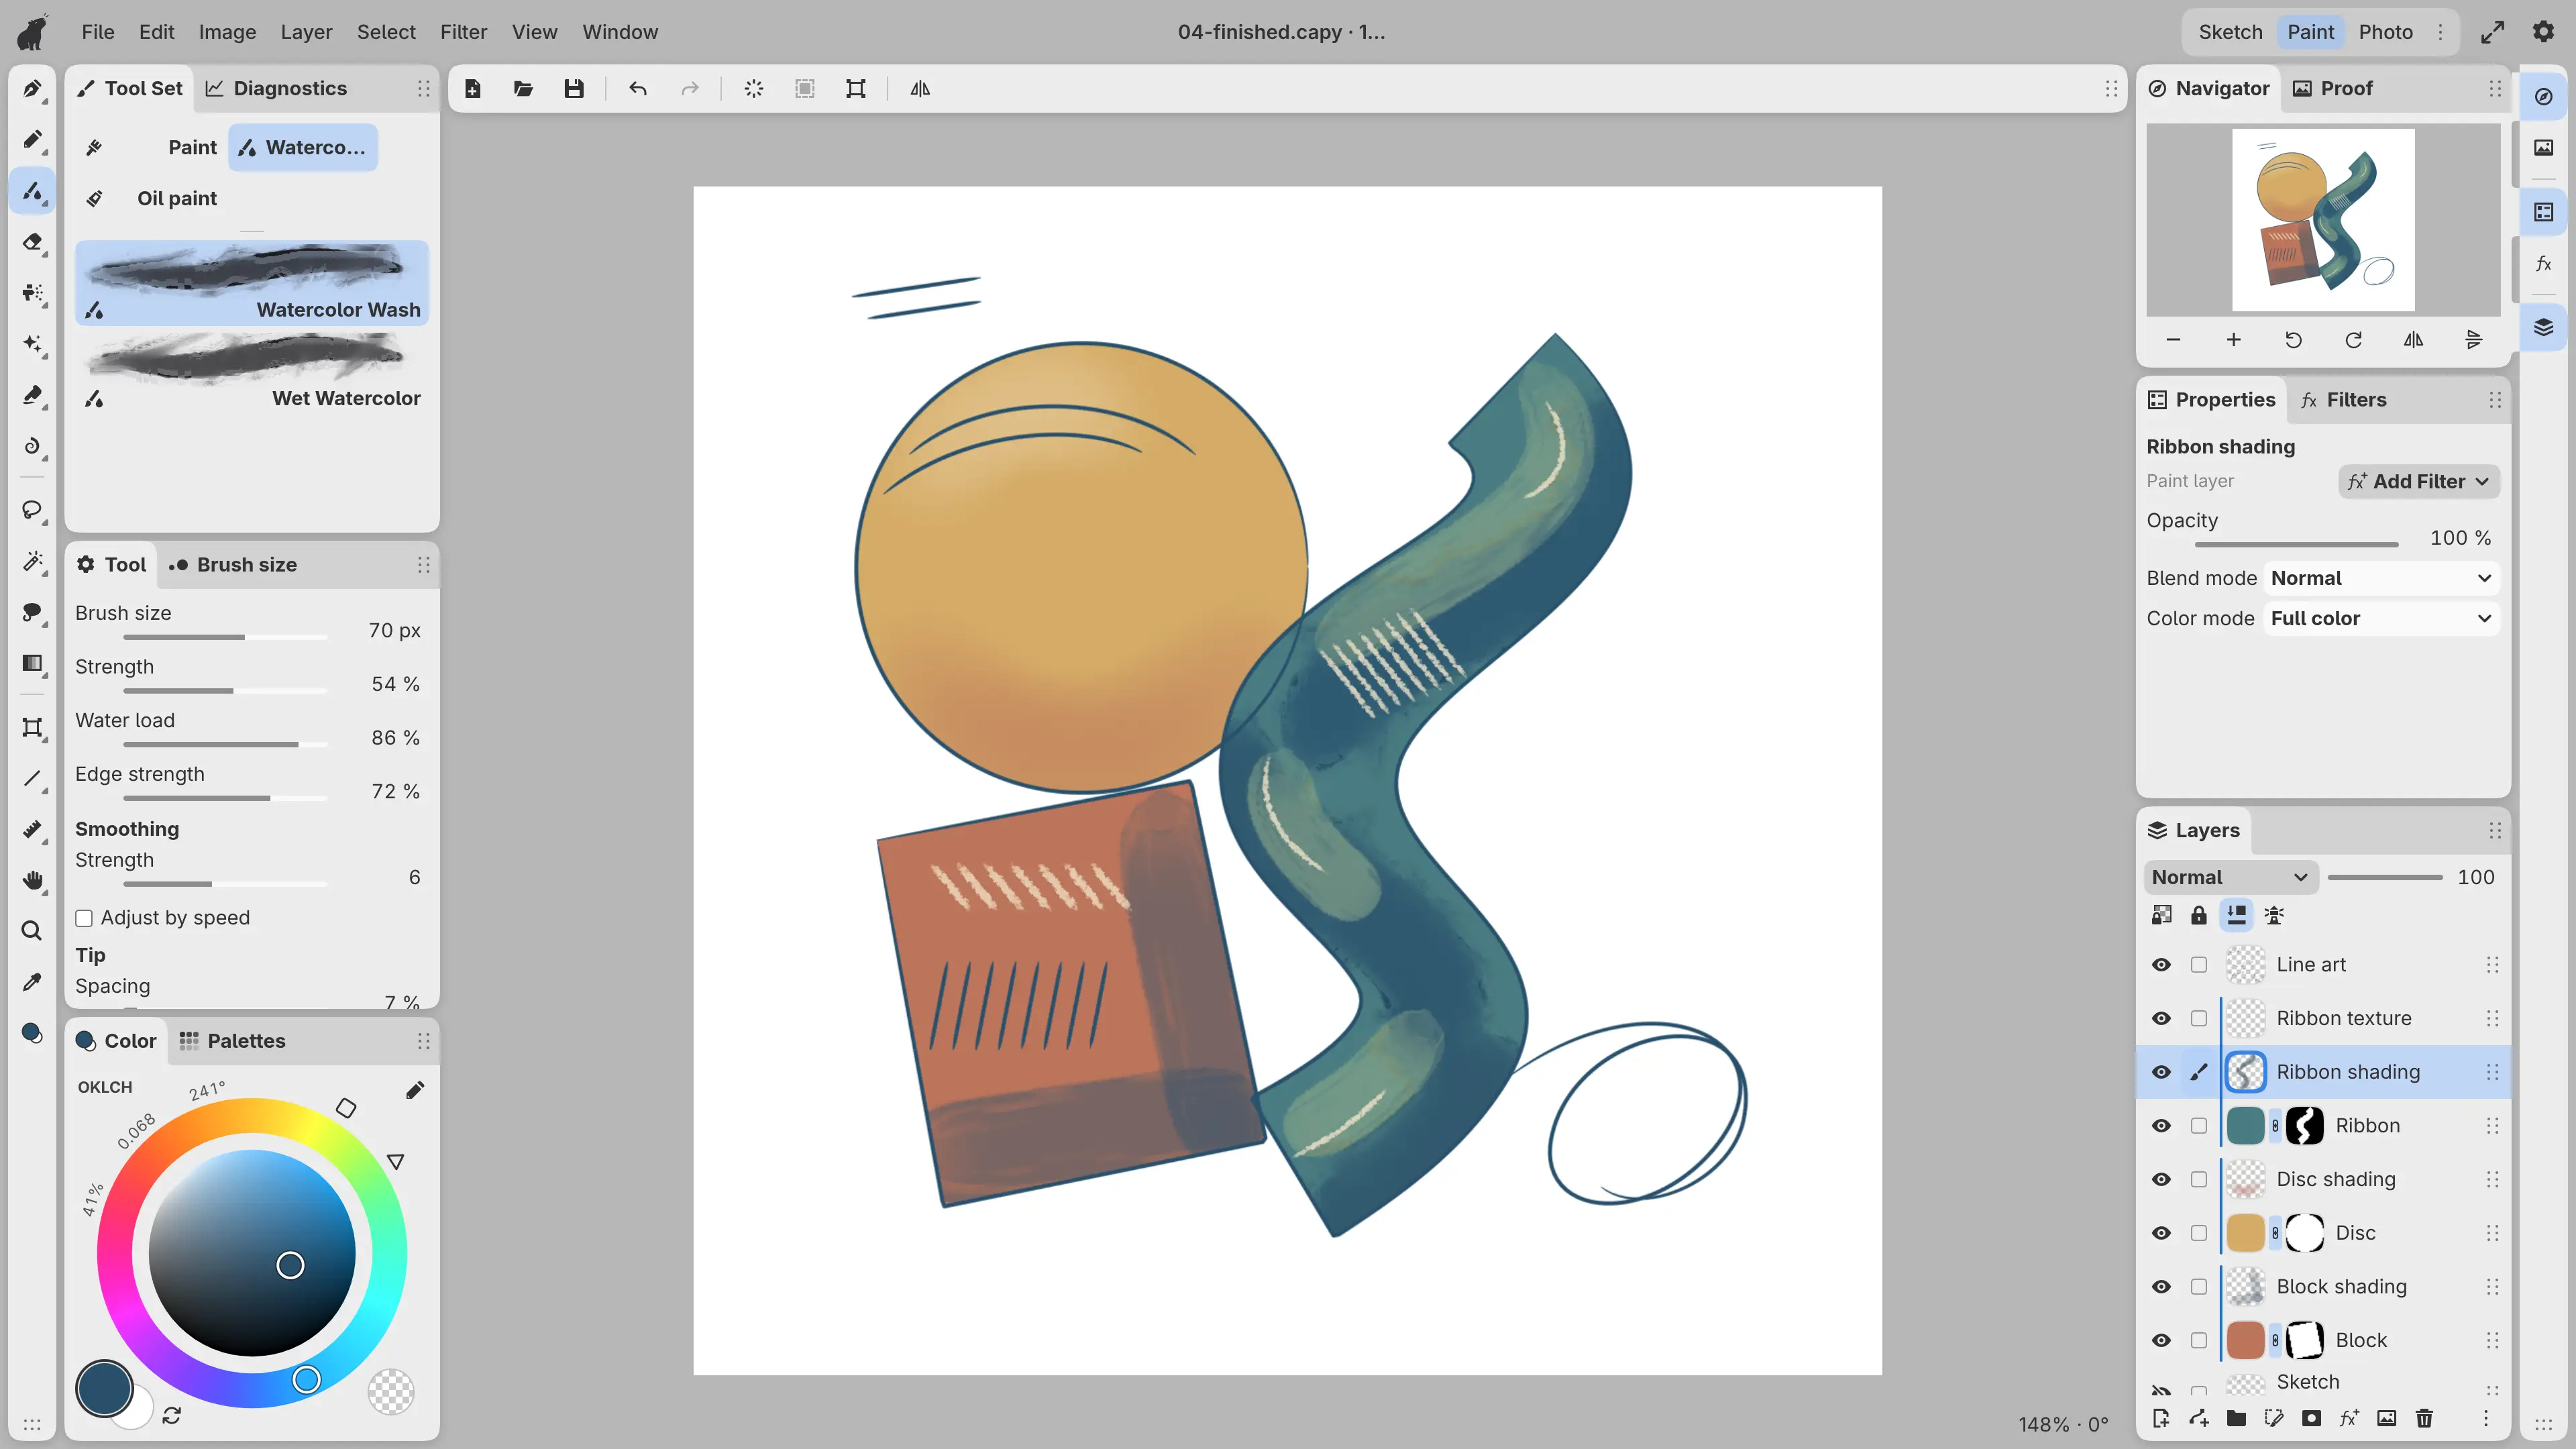
You paint an abstract study in four stages in the Paint workspace. Each stage adds layers, and no layer is merged.
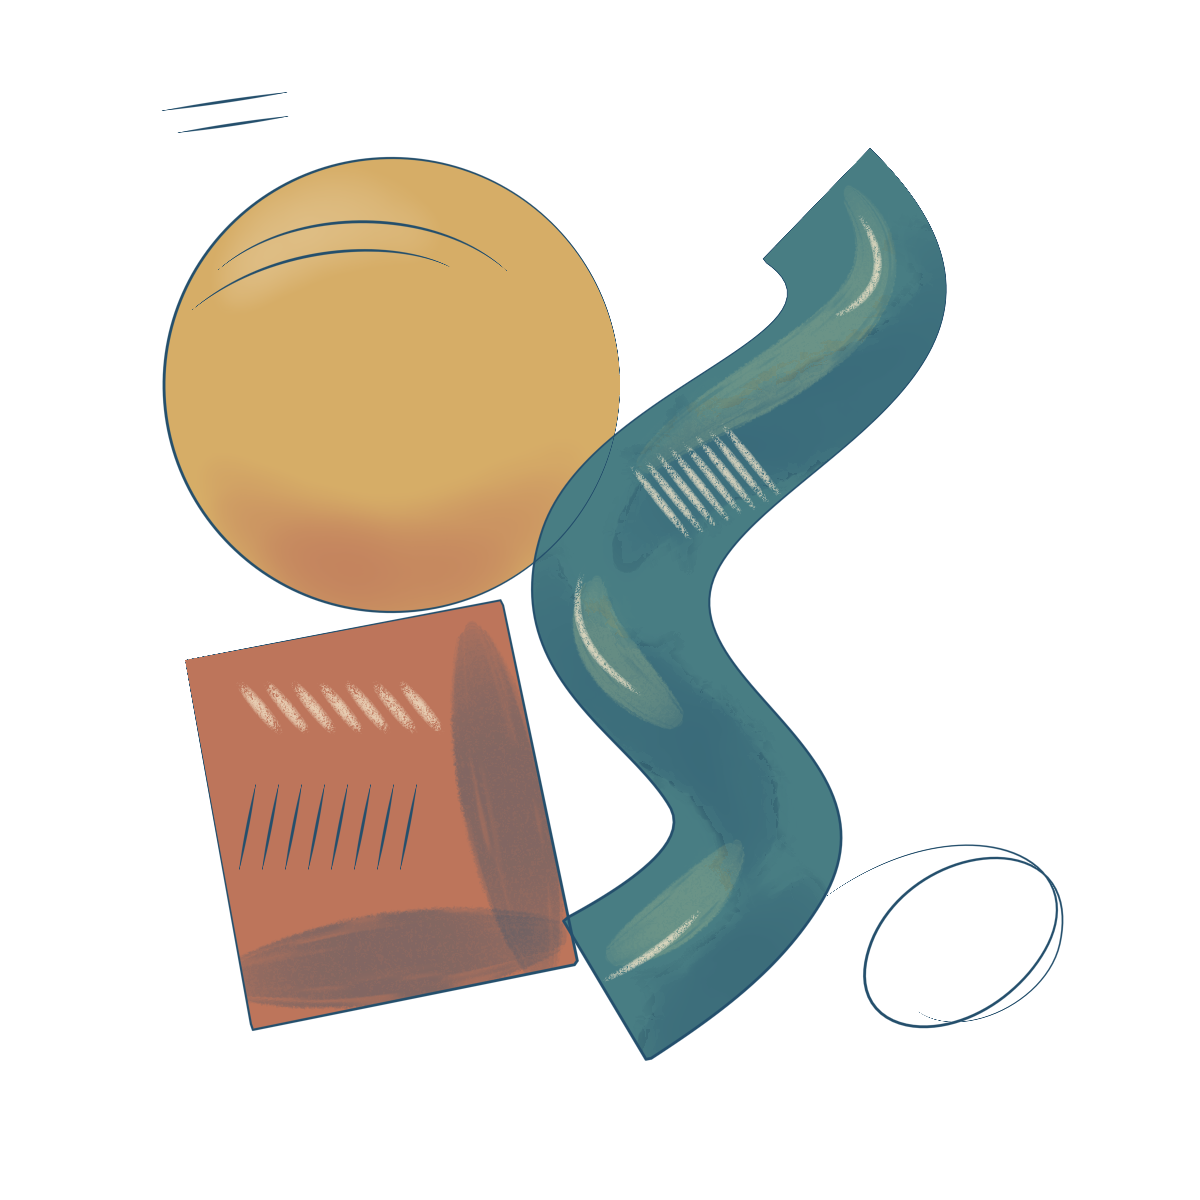
The study
The study is a 1200 × 1200 drawing of three overlapping shapes: a curved ribbon, a disc, and a tilted block. Loose scribbles and hatch marks lie on and around the shapes.
The stages
- Sketching: a color rough and a pencil sketch.
- Line art: ink lines above the faded sketch.
- Base colors: a masked color layer for each shape.
- Rendering: shading on clipped layers, and a PNG export.
The finished layers
The finished drawing has these layers, from top to bottom:
| Layer | Contents |
|---|---|
| Line art | Ink lines |
| Ribbon texture | Cream hatching and highlights, clipped to Ribbon |
| Ribbon shading | Shadows and sage accents, clipped to Ribbon |
| Ribbon | Teal, masked to the ribbon |
| Disc shading | Shading and a highlight, clipped to Disc |
| Disc | Ochre, masked to the disc |
| Block shading | Shading and hatching, clipped to Block |
| Block | Terracotta, masked to the block |
| Sketch | Pencil lines at 22% opacity, hidden |
| Color rough | Flat colors at 50% opacity, hidden |
| Paper | White |
Example files
You can start from the end of any stage. Download the stage’s file, choose File > Open… or press Ctrl+O, and select the file. The drawing opens in a tab of its own.
| Stage | File |
|---|---|
| 1. Sketching | 01-sketch.capy |
| 2. Line art | 02-line-art.capy |
| 3. Base colors | 03-base-colors.capy |
| 4. Rendering | 04-finished.capy |
The PNG export of the finished study is abstract-study.png.
First stage: Sketching.